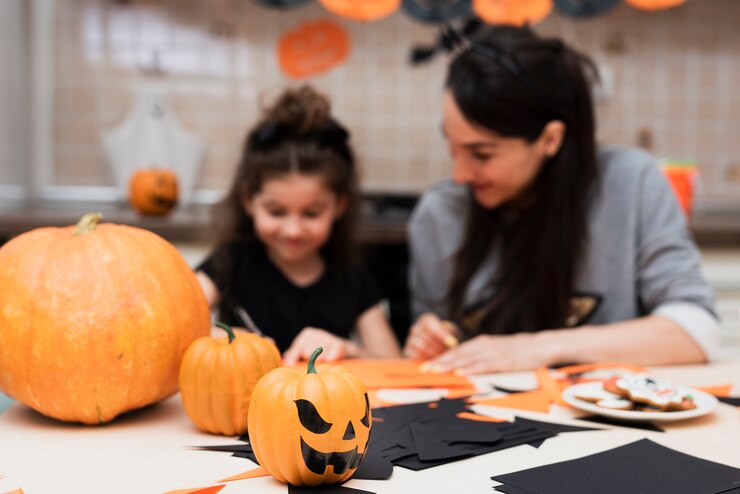
Halloween, with its colorful costumes, spooky decorations, and delightful treats, is a time of year loved by many. One iconic symbol of this festive season is the Halloween pumpkin. Carving or drawing a pumpkin is a popular tradition that brings out the creative spirit in people of all ages. In this article, we will explore the art of draw a Halloween pumpkin, providing you with a step-by-step guide to create your own festive masterpiece.
Materials Needed
Before you begin drawing your Halloween pumpkin, gather the necessary materials:
- A sheet of paper or a sketchbook
- Pencils in various shades (HB, 2B, 4B, etc.)
- Eraser
- Sharpener
- Optional: Colored pencils or markers for additional detailing
Step 1: Sketching the Basic Shape
Start by lightly sketching the basic shape of your pumpkin on the paper. You can draw a circular outline for the pumpkin’s body and a smaller circle or oval on top for the stem. Remember, pumpkins come in various shapes and sizes, so feel free to get creative with the form of your pumpkin.
Step 2: Adding Facial Features
Next, decide on the facial features you want your pumpkin to have. Traditionally, Halloween pumpkins have triangular eyes, a nose (often depicted as a triangle or other shapes), and a toothy grin. Sketch these features lightly within the outline of the pumpkin.
Step 3: Shading and Texturing
Now, add depth and texture to your pumpkin drawing by using different pencil shades. Start by shading the areas around the eyes, nose, and mouth to make them appear recessed. You can also add curved lines to create the illusion of ridges on the pumpkin’s surface.
Step 4: Refining Details
Refine the details of your pumpkin by adding highlights and shadows to make it look more three-dimensional. Pay attention to the light source in your drawing and shade accordingly to create a realistic effect. Use your eraser to clean up any stray marks or smudges.
Step 5: Adding Final Touches
Once you are satisfied with the overall look of your Halloween pumpkin drawing, you can add some final touches to make it stand out. Consider using colored pencils or markers to enhance the colors of the pumpkin’s skin or add a spooky background to complete the Halloween vibe.
Tips for a Spooktacular Pumpkin Drawing:
- Experiment with different expressions for your pumpkin, such as a surprised face, a sinister grin, or a goofy smile.
- Play with various shapes and sizes to create a unique pumpkin design that reflects your creativity.
- Practice drawing different textures like the rough skin of a pumpkin or the soft glow of a candle inside.
Conclusion
Drawing a Halloween pumpkin is a fun and creative activity that allows you to celebrate the spirit of Halloween in your own unique way. Whether you are a seasoned artist or just starting with drawing, creating a spooky pumpkin masterpiece can be a rewarding experience. Remember to have fun, experiment with different techniques, and let your imagination run wild as you bring your Halloween pumpkin to life on paper. Happy drawing!


