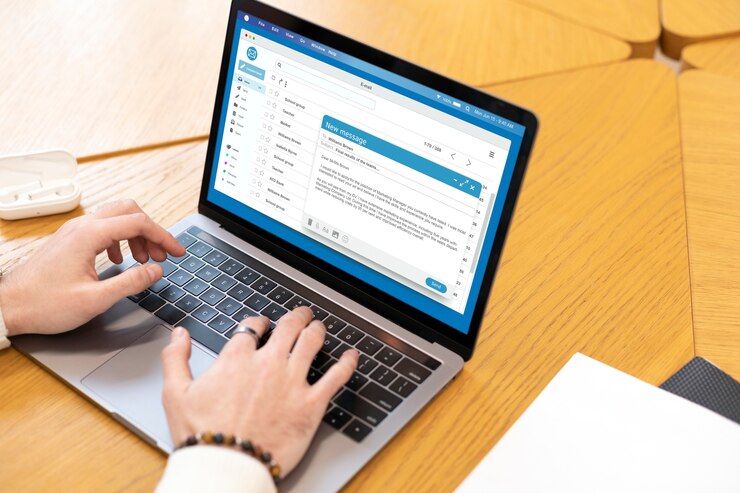
In today’s fast-paced digital world, sending emails has become a routine part of our daily communication. We often find ourselves hitting the “Send” button without double-checking the content of our messages, leading to embarrassing situations. Fortunately, Outlook, one of the most widely used email platforms, offers a handy feature that allows users to recall an email after it has been sent. In this comprehensive guide, we will explore the step-by-step process of how to recall an email in outlook, as well as some best practices to avoid such situations in the future.
Why Recall an Email?
Recalling an email can be necessary for various reasons. Perhaps you realized you made a mistake in the content, attached the wrong file, or accidentally sent the email to the wrong recipient. Whatever the reason, recalling the email can help you avoid potential misunderstandings and maintain a professional image. Outlook’s recall feature allows you to retract the email from the recipient’s inbox before they read it, saving you from potential embarrassment and preventing any unintended consequences.
Step-by-Step Guide to Recalling an Email in Outlook
Step 1: Open Outlook and Navigate to the “Sent Items” Folder
- Launch Outlook on your computer and go to the “Sent Items” folder where the email you want to recall is located.
Step 2: Double-Click on the Email to Open It
- Locate the email you wish to recall in the “Sent Items” folder and double-click on it to open the message in a new window.
Step 3: Go to the “Message” Tab
- Once the email is open, navigate to the “Message” tab in the top menu bar.
Step 4: Click on “Actions” and Select “Recall This Message”
- In the “Message” tab, click on “Actions” in the toolbar. A drop-down menu will appear, where you should select “Recall This Message.”
Step 5: Choose the Recall Options
- After selecting “Recall This Message,” a dialog box will appear with recall options. You can choose to delete unread copies of the email or delete unread copies and replace with a new message. Select the desired option based on your preference.
Step 6: Click “OK” to Recall the Email
- Once you have chosen the recall options, click “OK” to recall the email. Outlook will attempt to retrieve the message from the recipient’s inbox.
Best Practices for Recalling Emails
Double-Check Before Sending
- To avoid the need to recall emails, it is always advisable to double-check the content, attachments, and recipients before hitting the “Send” button. Taking a moment to review your email can save you from potential mistakes.
Use Delayed Sending
- Outlook allows you to schedule emails for delayed sending. This feature can give you a grace period to review the email one last time before it is sent, reducing the chances of errors.
Confirm Receipt Requests
- If the email is critical, consider adding a request for a read receipt. This way, you will know when the recipient has read the email and can follow up if necessary.
Communicate Transparently
- If you realize you made a mistake in the email after sending it communicate transparently with the recipient. Apologize for the error and provide any necessary clarification or correction.
Conclusion
Recalling an email in Outlook is a valuable feature that can save you from potential mishaps in your professional communication. By following the step-by-step guide and implementing best practices to avoid mistakes, you can enhance your email management skills and maintain a positive image in your correspondence. Remember, prevention is always better than correction, so take the time to review your emails before sending them to ensure accuracy and clarity.


